
Before you create anything
Two decisions made now save a lot of untangling later.
Decide what one profile represents. The rule that works: one profile per identity, not per task. If two accounts should never be connected in a platform's eyes, they need two profiles. If they already belong to the same visible person or business, they can share one.
So: a client's Instagram and that same client's Facebook can live together, because the client openly owns both. Your own shop and a second shop you would rather not have associated need two.
Decide on names before you have twenty. Anything consistent beats "Profile 1". Something like Client — Rossi — social or Shop DE — main. You will thank yourself in a month, and folders only help if the names inside them mean something.
Creating the profile
The defaults are chosen to be right for most people, so the list of things to actually think about is short.
- Name it using the convention you just picked.
- Choose the operating system the profile should look like. Pick the one you would plausibly be using — Windows if the account is a normal consumer account in a Windows-heavy country. Do not pick something unusual because it sounds harder to track. Ordinary is the goal.
- Leave the hardware settings alone. Screen, graphics card, fonts, cores and memory are generated together so they describe one believable machine. Changing one by hand is how you end up with a Mac graphics card on a Windows profile — a combination that does not exist and is trivial to spot.
- Set the language and timezone to match where the account should appear to be. This is the setting people most often get wrong, and it is checked constantly.
- Attach a proxy — the next section.
If you find yourself adjusting more than three settings on a new profile, you are probably making it more unusual rather than less. The generated defaults are designed to be boring, and boring is what you want.
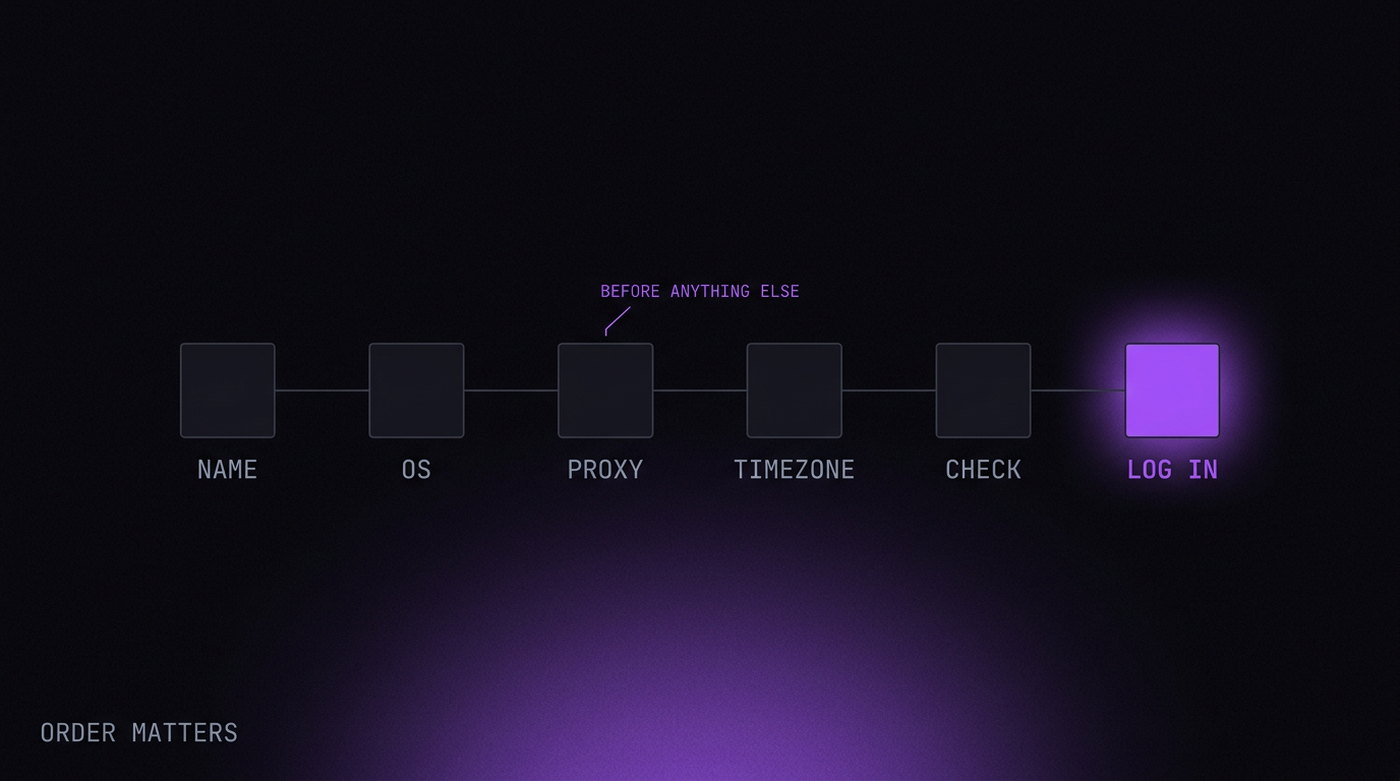
The proxy, in plain terms
A proxy is the address your traffic appears to come from. Without one, every profile shares your home address, and sharing an address is one of the strongest links a platform can find.
Three practical rules cover almost every case:
- One proxy per profile. Not shared, not pooled. If two profiles use one address, you have undone much of the separation.
- Keep it. Do not use a rotating proxy for an account you log into. Real people connect from the same place for months. An account that appears in four countries in an hour looks like a stolen session, because that is what stolen sessions look like.
- Match it to the profile. A German proxy goes with German timezone and language. This is the single most common inconsistency and the easiest to avoid.
On type: if the account matters, a static residential or ISP address is the right default. Datacenter addresses are cheap and fine for scraping, and poor for accounts. The full comparison is here if you want the reasoning.
The five-minute check
Do this once per profile, before it touches anything valuable. It catches nearly everything that goes wrong.
- Open the profile and visit
browserleaks.com/ip. The address shown should be your proxy's, and the country should be the one you intended. If it is your home address, the proxy is not attached. - Go to
browserleaks.com/webrtc. Look at the public IP row. It should match the previous step. If a different address appears — including your real one — that is a leak and it is worth fixing before you continue, because nothing else warns you about it. - Check the clock. The time in the profile should be the local time where the proxy is. A mismatch here is one of the first things checked.
- Load the platform itself. Do not log in yet. Just see whether the page loads normally or throws a challenge. If a plain homepage is already suspicious of you, the proxy address has a history.
Four steps, five minutes. Skipping them is how a profile gets flagged in its first session.
The first week
A brand new profile has no history — no cookies from anywhere, empty cache, nothing visited. That is unusual enough to notice on its own, because nobody's real browser looks like that.
So do not create a profile and immediately log into something valuable. Use it normally for a while first. Search for something. Read a few articles. Visit shops. Twenty minutes on the first day, twenty more a couple of days later.
Then create or log into the account, and do nothing else with it that day. Come back and use it lightly for a few more days before it does anything that matters.
The whole ritual costs about two hours spread over ten days. There is a longer article on why, including what it does not do — which is a shorter list than most vendors admit.
Habits that keep profiles alive
Setup is the easy part. These are the things that decide whether a profile is still working in six months.
- Never clear cookies or cache. That history is the asset you spent a week building. People "clean up" a profile before an important session and throw away the thing that made it look established.
- Always open the account in its own profile. Once. Just once on your normal browser is enough to create the link.
- Keep the proxy. Changing the address of an established account is a bigger event than people realise.
- One payment method per identity. The strongest link there is, and completely outside what any browser can help with. More here.
- Do not synchronise. Different login times, different session lengths, different days. Ten accounts that wake up together have told the platform they are one operation.
- Keep groups small. If a link is ever found, you lose the group, not the estate.
Common first mistakes
In rough order of how often we see them:
- No proxy on the first profile, "just to test". The test logs in from your home address and the link is made.
- One proxy shared across several profiles, usually to save money. This defeats most of the point.
- Rotating proxies on logged-in accounts. Sold as the premium option, wrong for this job.
- Timezone left on the host machine's setting while the proxy is in another country.
- Hand-editing hardware values into combinations that do not exist.
- Same email or phone number across profiles. Perfect device separation, undone by the recovery address.
- Logging into the old account from a new profile "just to check something". That single visit connects them.
Every one of these is avoidable in the setup stage and expensive afterwards. If you take one thing from this article, make it the five-minute check — it catches the first four on its own.